Lets Encrypt on Arch Linux with Nginx and automatic renewals

Standard

This is a very quick guide for setting up Let’s Encrypt on Arch Linux, so you can get free, browser-trusted SSL certificates for all your (sub)domains. Start by installing simp_le-git from AUR:

$ wget https://aur.archlinux.org/cgit/aur.git/snapshot/simp_le-git.tar.gz
$ tar -xzvf simp_le-git.tar.gz
$ cd simp_le-git && makepkg -si

We used simp_le here because the official Let’s Encrypt client tries to automatically alter your webserver configuration and as any self-respecting sysadmin would tell you, that’s a big no-no.

Now, let’s create a certificate for our domain, in this case le.example.com. First, you need to choose a directory where you can store your certificate like this:

# mkdir -p /srv/certs/le.example.com

You can obviously choose a different directory. Now that everything is set, let’s create the certificates!

# cd /srv/certs/le.example.com
# /usr/bin/simp_le -d le.example.com:/path/to/my/webroot -f key.pem -f cert.pem -f fullchain.pem

Your directory should now contain three pem files. Now, let’s add these certificates to nginx. Open your virtualhost configuration and edit the “server” definition like this:

server {
    listen 443;
    ssl on;
    ssl_certificate /srv/certs/le.example.com/fullchain.pem;
    ssl_certificate_key /srv/certs/le.example.com/key.pem;
    server_name le.examle.com;

    // rest of your config
}

If you’d also like to redirect all HTTP traffic to SSL, add the following server definition:

server {
    listen 80;
    server_name le.example.com;
    return 301 https://$server_name$request_uri;
}

Make sure you didn’t make any syntax errors:

# nginx -t

If all went well, just restart nginx:

# systemctl restart nginx

And that’s it! You should now be able to open https://le.example.com and http://example.com should redirect to the former.

Finally, let’s set a cronjob to automatically update our certificate when needed. Open up root’s crontab with:

# crontab -e

and add the following lines:

# Update lets encrypt certs for le.example.com
00 1 * * * cd /srv/certs/le.example.com && /usr/bin/simp_le -d le.example.com:/path/to/my/webroot -f key.pem -f cert.pem -f fullchain.pem && systemctl reload nginx

This will check your certificates once every day and, if necessary, update them and reload nginx (It won’t be reloaded if no update is required).

I hope this guide is useful to someone willing to try out Let’s Encrypt. If you have any question, do let me know in the comments.
How to install CommaFeed (with MySQL and Apache Reverse Proxy) under Arch Linux

Standard

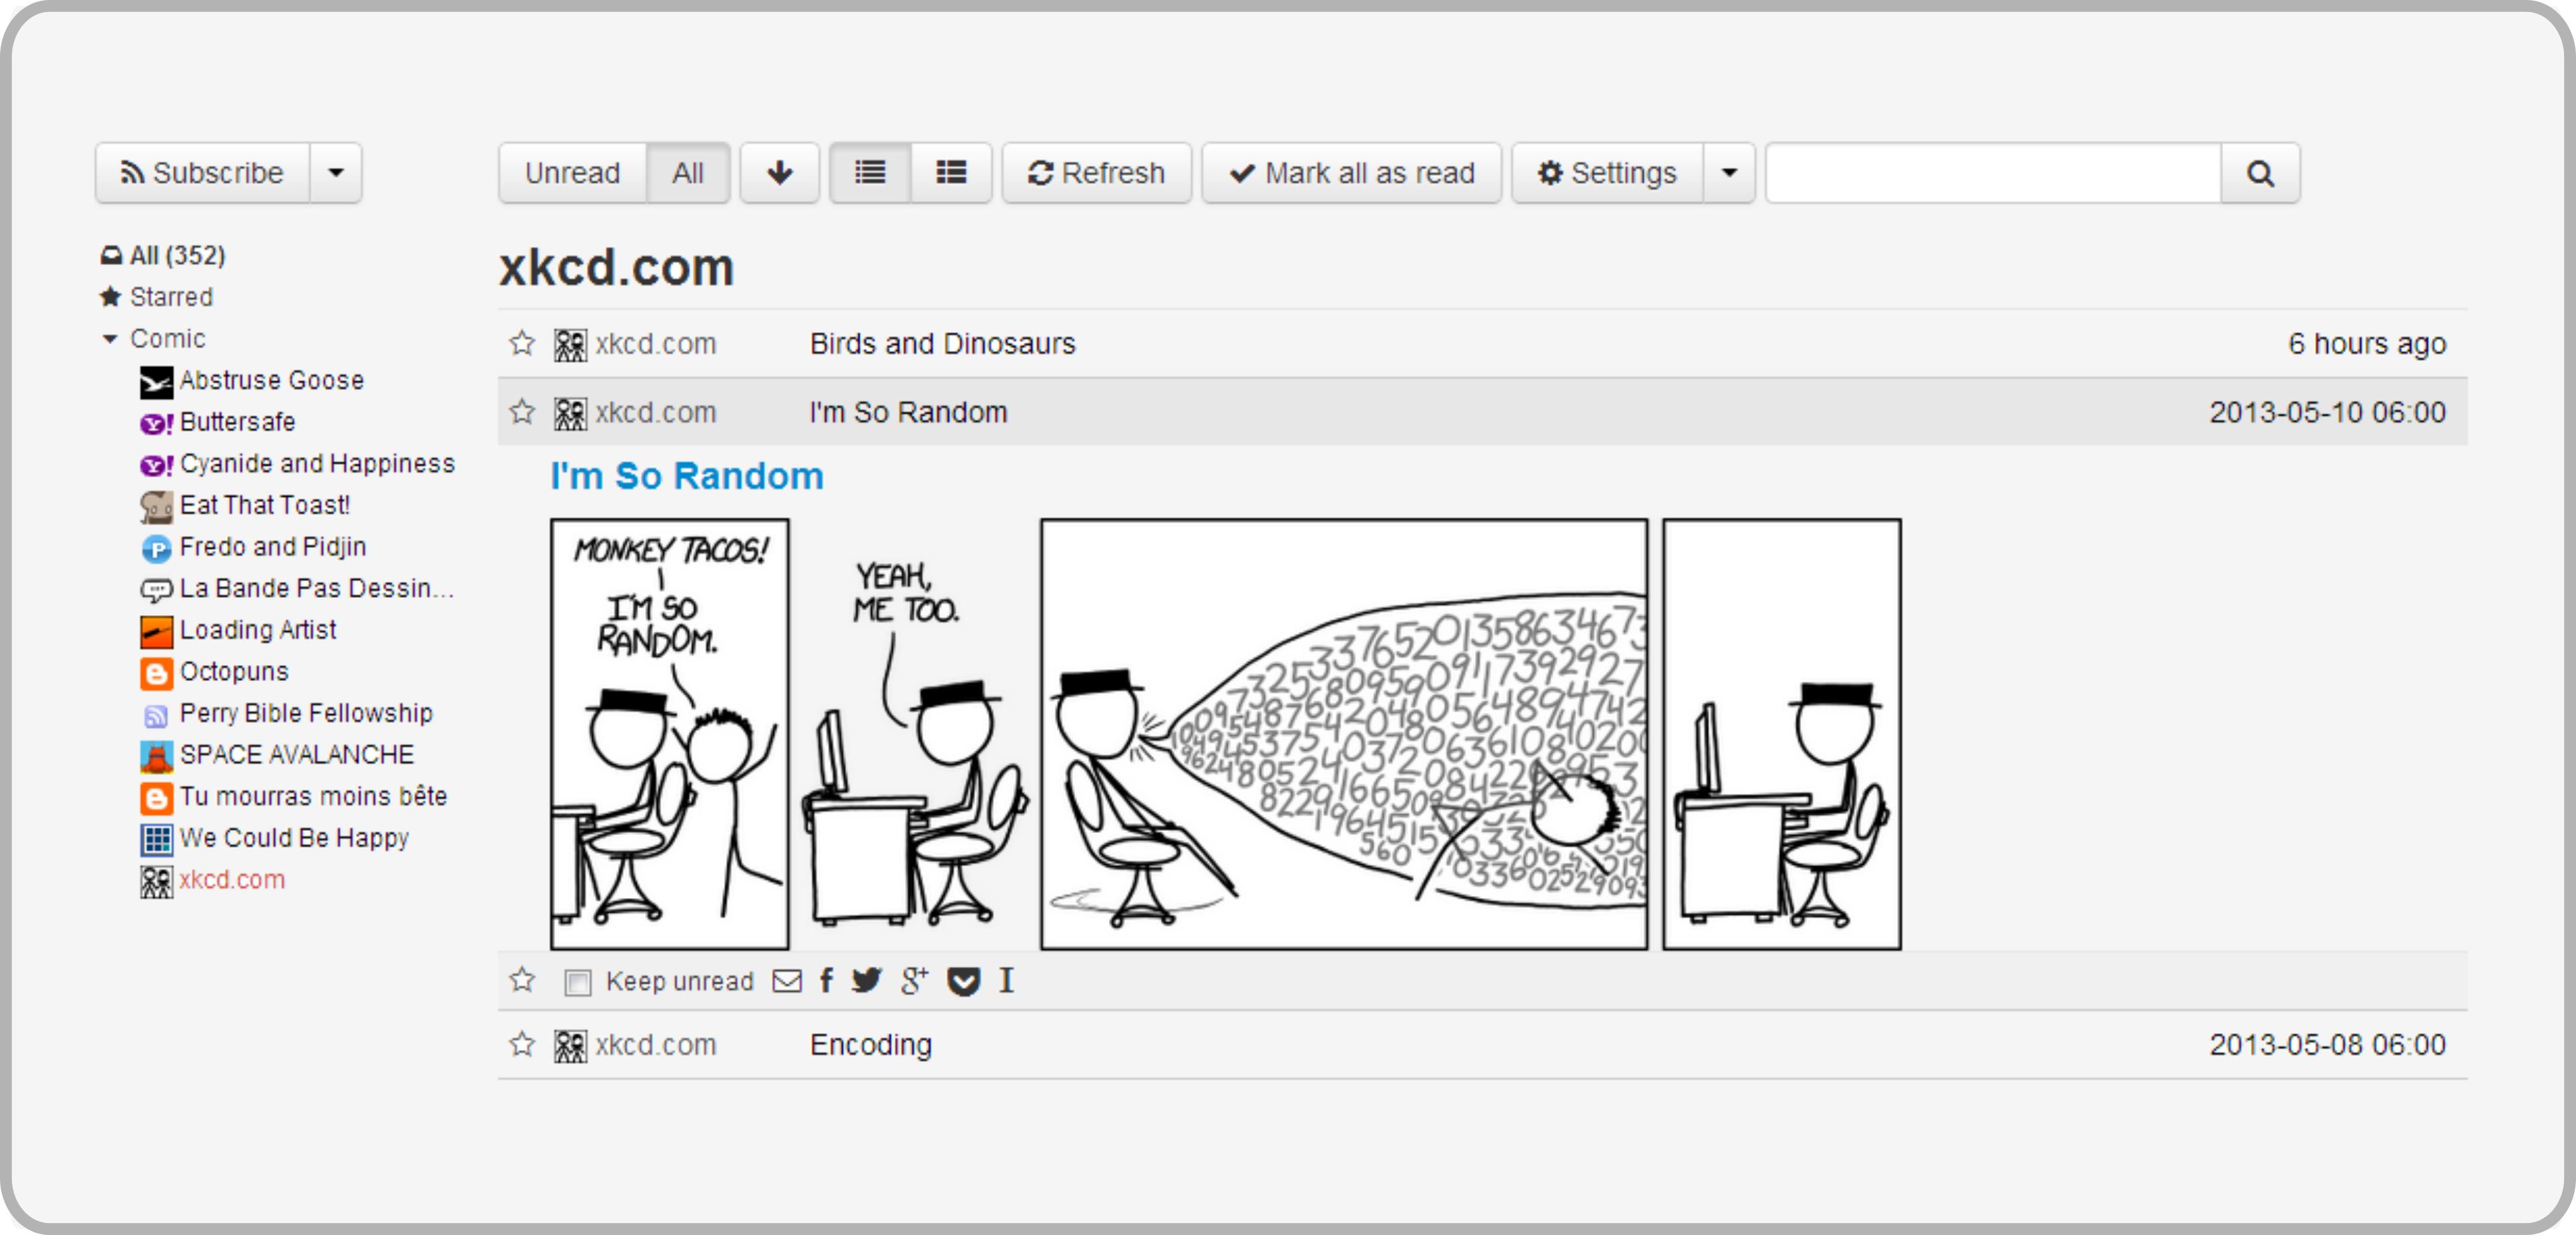
CommaFeed

CommaFeed is a lightweight, self-hosted alternative to Google Reader. I was looking for a self-hosted solution since The Old Reader became way too slow to be usable and CommaFeed fits the bill nicely.

Note: This post assumes you want to access CommaFeed from a subdomain (i.e commafeed.example.com), if you don’t want that, follow the guide and do the extra steps at the end of this post.

Here are the – surprisingly few – steps you need to follow to install it on an Arch Linux server:

$ pacman -S maven
$ packer -S jdk #(You can use other AUR helpers, or simply download the tarball from AUR).
$ git clone https://github.com/Athou/commafeed.git
$ cd commafeed
$ mvn clean package tomee:build -Pprod -Pmysql

If this is the first time you are building CommaFeed, this will take a little while as maven will fetch a lot of build dependencies. After the compilation is finished, do the following – as root – in the build directory:

# mkdir /opt/commafeed
# mv target/commafeed.zip /opt/commafeed
# cd /opt/commafeed && unzip commafeed.zip
# mv webapps/commafeed.war webapps/ROOT.war

Now, open conf/tomee.xml and set your MySQL connection credentials.

Finally, mark the binaries as executable with:

# chmod +x bin/*.sh

At this point, you can access CommaFeed on the default port (8082) but let’s configure a reverse proxy so we can access it on port 80 without affecting other applications on that port.

In your VirtualHosts configuration, add the following (replacing example.com with your domain):

NameVirtualHost *:80

<VirtualHost *>
    ServerAdmin me@example.com
    ServerName commafeed.example.com
    ProxyPreserveHost On

    # setup the proxy
    <Proxy *>
        Order allow,deny
        Allow from all
    </Proxy>
    ProxyPass / http://localhost:8082/
    ProxyPassReverse / http://localhost:8082/
</VirtualHost>

You are almost ready!

Open up the MySQL database you have created for CommaFeed and run the following query:

UPDATE APPLICATIONSETTINGS SET publicUrl = 'http://commafeed.example.com/';

Now, we can finally start the application:

# sh /opt/commafeed/bin/startup.sh

That’s it! You should now be able to access CommaFeed by visiting http://commafeed.example.com!

If you ever need to stop the server, you can simply run:

# sh /opt/commafeed/bin/shutdown.sh

Enjoy 🙂 Feel free to ask any questions in the comments.

P.S: If you don’t want to install to a subdomain, here’s what to do. Let’s assume you want CommaFeed to be accessed via http://example.com/commafeed.

# mv /opt/commafeed/webapps/ROOT.war /opt/commafeed/webapps/commafeed.war

In your Apache VirtualHost config, find the following lines:

    ProxyPass / http://localhost:8082/
    ProxyPassReverse / http://localhost:8082/

and replace them with:

    ProxyPass /commafeed/ http://localhost:8082/commafeed/
    ProxyPassReverse /commafeed/ http://localhost:8082/commafeed/

Now, run the following SQL query in your CommaFeed database:

UPDATE APPLICATIONSETTINGS SET publicUrl = 'http://example.com/commafeed/';

Finally, restart the application:

# sh /opt/commafeed/bin/shutdown.sh
# sh /opt/commafeed/bin/startup.sh

… and voila! You are all set 🙂

LVM için Türkçe dokümantasyon!

Standard

Bugün Arch Linux wikisinde bulunan LVM (Logical Volume Manager) makalesinin Türkçe çevirisini nihayet tamamladım! Makalenin neredeyse tamamı dağıtımdan bağımsız, o yüzden talimatları istediğiniz dağıtımda rahatça kullanabilirsiniz. Kısaca tanımlarsak:

LVM, Linux çekirdeği için bir Mantıksal Hacim Yöneticisi’dir. LVM kullanarak depolama alanınızı soyut hale getirebilir, düzenlemesi daha kolay olan “sanal disk bölümleri” oluşturabilirsiniz.

Çeviriye buradan erişebilirsiniz. Umarım ilgilenenlere faydalı olur 🙂